Whoops. I didnt realise it was so long since I last posted. Life can be so hectic sometimes but I have still made sure there has been time for crafting.
In the school holidays, my family enjoyed a lovely time away at Warrnambool on the Victorian ShipWreck Coast for the Fun 4 Kids Festival which we had such a fun time at and there was activities suitable for all my boys. Even though we have just upgraded our car to a Kia Carnival as we really werent fitting into the Pajero anymore, space was still reasonably tight with the 6 of us, but I did manage to sneak in a small (for me!) craft tote as I was working on a very special project for the
2012 Contemporary Handmade Alliance Craft Swap. This is the 3rd year it has run and the 3rd year I have been involved. In 2010, I received a lovely handmade tote from
Piper and Lily which I still occassionally use. Unfortunately, even though my swap partner received a lovely package from me, I received nothing (but excuses) from them. As I was in my 3rd trimester in a very difficult pregnancy and about to move house, I didnt have the energy to chase them up too much, but I did let the organiser know that they hadn't completed the swap. As disappointing as it was, I'm not bitter about it, I just hope they appreciate the time, effort and expense that went into creating something special for them.
While I was away, this is what I had been working on for the lovely Sheryl at
Adornier.
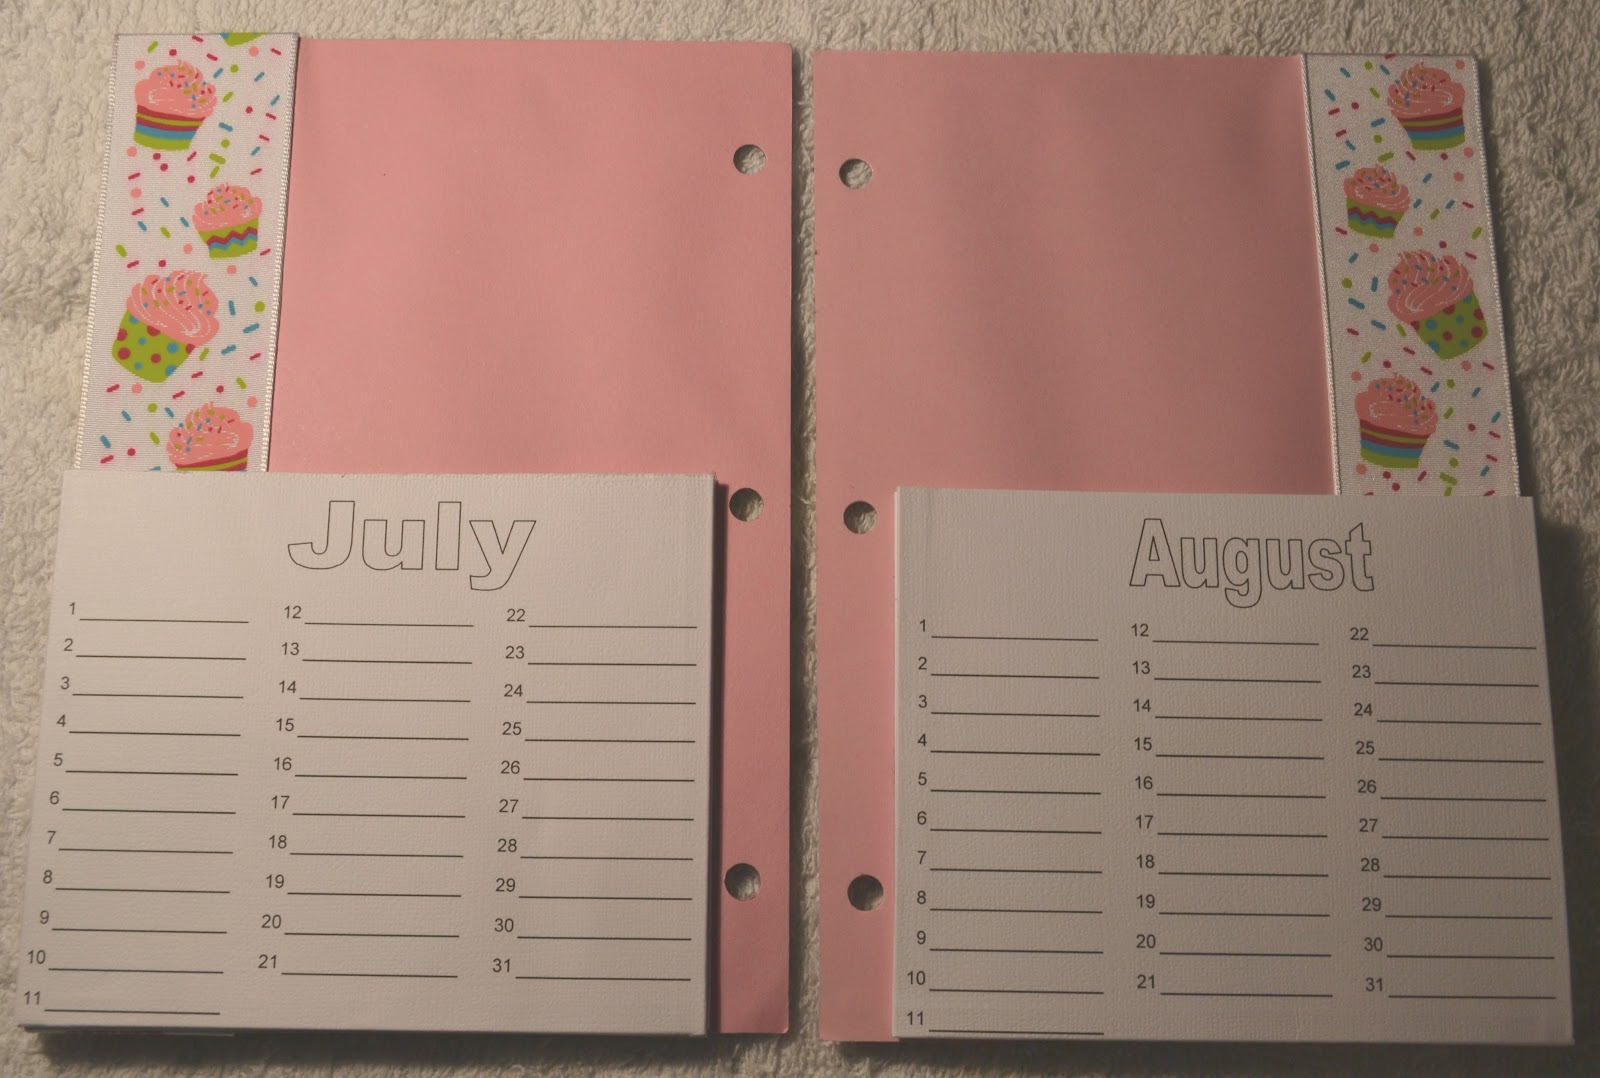
A birthday card organiser and ....
.... 10 birthday cards to go in it.
The birthday card organiser has pockets for each month and on the pocket is each of the dates for that month. You simply fill in the name of the person next to the date of their birthday and store the card you've decided to give to them in the pocket, ready for posting or giving it to them. If you are really organised, you can fill it up during the year and have them sitting there ready to go, or do a month at a time or if you are like me, use it as a reminder for whose birthday you need to make a card for and store spare ones in the pockets!
With album rings as a hinge and a ribbon to tie it together, it can expand pretty wide.
Each double page was decorated differently, but this shows the pockets with the dates for that month on it.
THE CARDS
I love how just a bit of pen ink (the outline around the plane) can really make a die cut pop!
Black and white always looks effective together and I am still loving using bottle tops. I think the doily flower looks wonderful in the middle of the bottletop.
3 little boat die cuts each in their own frame, some lettering, a few bits of bling and some printed background paper makes a very easy but effective card.
My 3 oldest boys loved this card. Why? Because it is Herbie the Love Bug. I really love the road Washi tape. I can see quite a few little boys I know receiving a card along these lines.
Again, 3 die cuts on their own frames, some lettering and bling, but this time it is a cut out card and although it is hard to see, the cupcake frames are standing up through the die cut squares of the card.
Sometimes the card I have in my mind does not quite translate into reality and that is wahat happened here. I dont know if it is because the red contrasts too much with the blue of the dragon, but I didnt like this card, it didnt turn out at all the way I had planned it to in my head. But I kept it in as when I asked my boys if they liked it, all 3 said "Yeah it's cool" or "Yeah can I have it?" So if it has my boys approval than I thought some other little boy (or girl) would love to receive it.
A flourish rub on, fabric flowers, some bling and lettering, I love the simplicity of this card but it does look so beautiful and tactile.
I found it hard to give this card away to a complete stranger, I just fell in love with it. Just means I will have to make it again.
The bear and borders were from a paper tole kit, and teamed with a die cut banner, greeting sticker and some matching paper, again it was very simple but effective. And in real life, the paper tole effect is much more pronounced.
The last card of the pack. Some cupcake Washi tape, a few die cuts, a stamped greeting and outlined in pen. Another simple but effective card that I am sure any little girl would love to receive.


